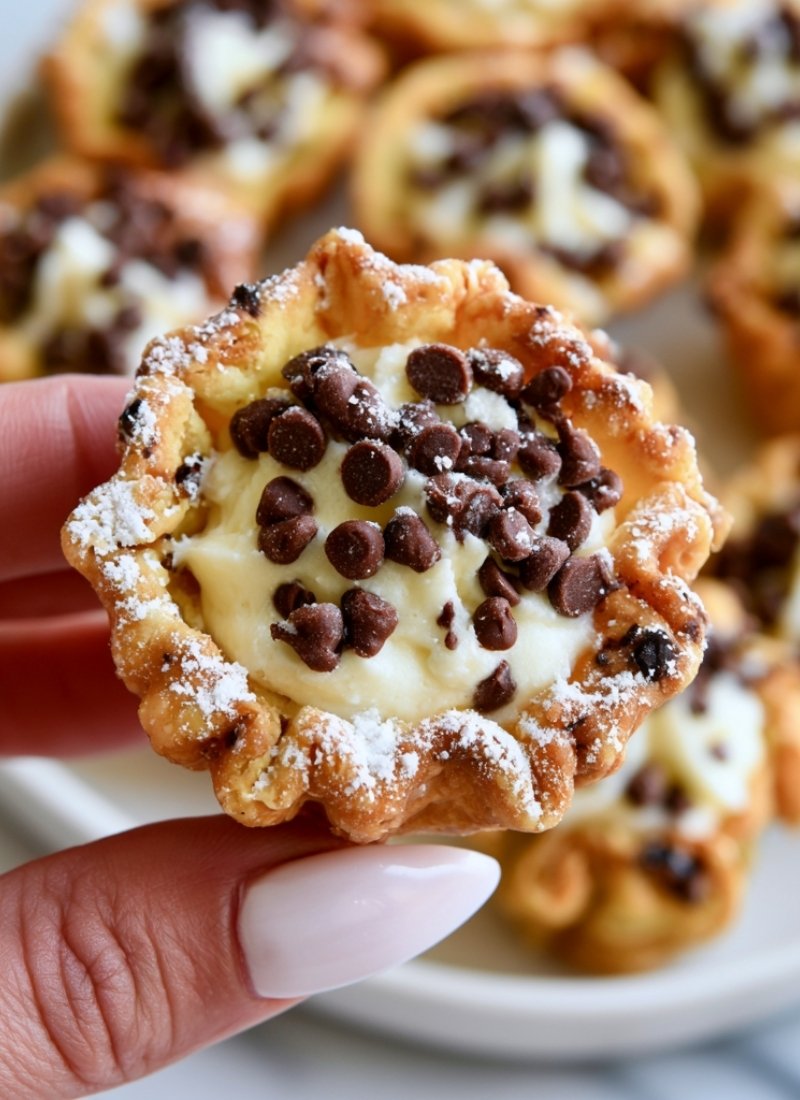
These mini cannoli cups are one of those desserts that look way more complicated than they actually are. I love making them for parties, brunches, holidays, or whenever I need something that feels impressive without spending hours in the kitchen. The crispy little pastry cups filled with creamy ricotta filling honestly taste like something from a bakery, but the shortcut pie crust makes them ridiculously easy to pull together.
What You’ll Need to Make These Mini Cannoli Cups
This recipe makes about 24 mini cannoli cups, which is perfect for parties, brunches, and dessert tables.
- 1 box Pillsbury refrigerated pie crusts (2 crusts total)
- 1 (15 oz) container whole milk ricotta cheese, drained really well
- 3/4 cup powdered sugar
- 1 tsp orange or lemon zest
- 1/2 tsp vanilla extract
- Mini chocolate chips for topping
- Powdered sugar for garnish
How to Make These Mini Cannoli Cups
- Preheat the oven to 425°F.
- Lightly flour your surface and unroll both pie crusts. Use a 2 1/2-inch round cookie cutter to cut circles from the dough, then press each one into a mini muffin pan (here is a good one from Amazon) to create little pastry cups. You’ll probably need to reroll the leftover dough once or twice to get enough circles, which is completely fine.
- Bake for about 10 minutes, or until the cups are golden brown and lightly crisp around the edges. Let them cool in the pan for about 10-15 minutes before transferring them to a wire rack to cool completely. They crisp up even more as they cool.
- While the cups cool, make the filling. Add the ricotta, powdered sugar, citrus zest, and vanilla to a bowl and mix until smooth and creamy. I actually prefer using powdered sugar only here instead of adding granulated sugar too because it gives the filling a much smoother bakery-style texture. Powdered sugar blends into the ricotta more easily and helps make the filling thick, creamy, and pipeable without that slight graininess regular sugar can sometimes leave behind. If your ricotta feels watery, make sure to drain it really well first because thick filling makes a huge difference with mini cannoli cups.
- Transfer the filling to a zip-top bag or piping bag and refrigerate until ready to use.
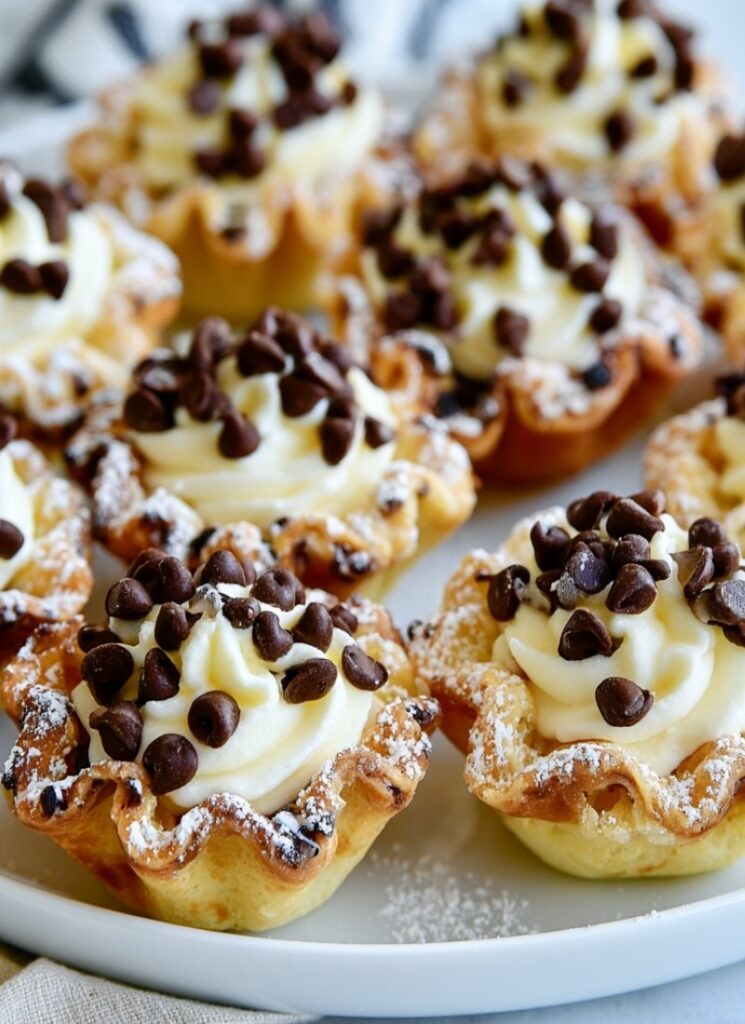
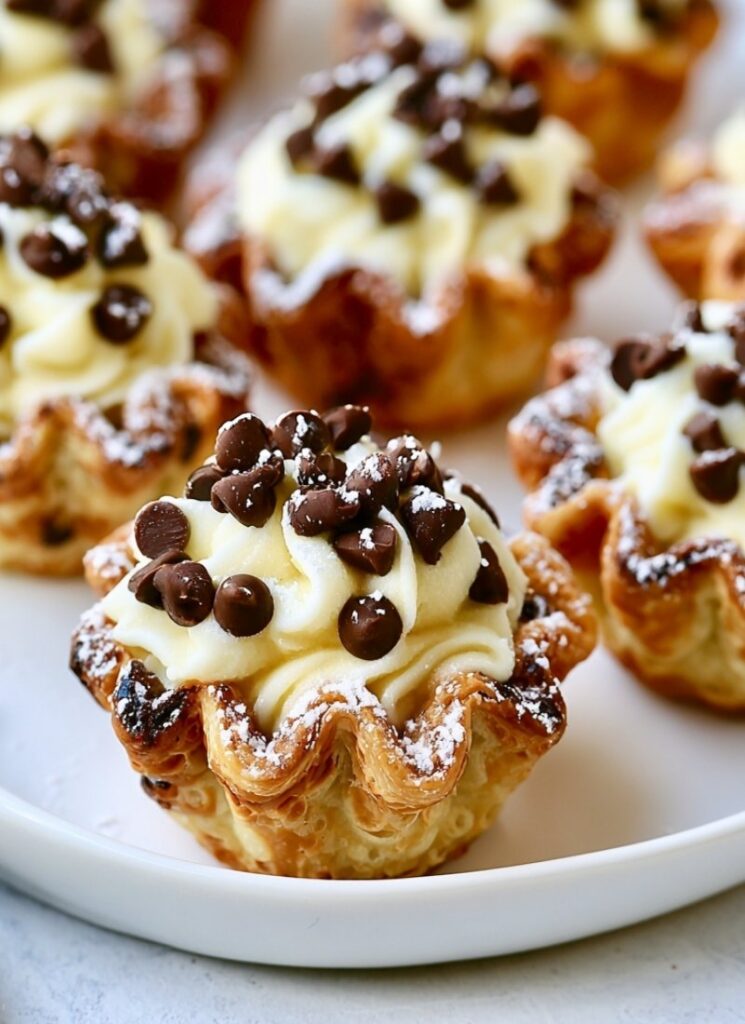
- Right before serving, pipe the filling into the cooled pastry cups. Top with mini chocolate chips and finish with a dusting of powdered sugar.
- I highly recommend filling them right before serving because that keeps the pastry crisp instead of softening from the ricotta filling. This recipe makes about 24 mini cannoli cups depending on the size of your cutter and muffin pan.
FAQ
Can I make these mini cannoli cups ahead of time?
Yes, but I highly recommend keeping the filling and pastry cups separate until right before serving. The pastry stays much crispier that way. You can bake the cups a day ahead and store them in an airtight container, then fill them fresh before your party or dessert table.
Why does the ricotta need to be drained?
This is honestly one of the biggest things that affects the final texture. Ricotta naturally holds a lot of moisture, and if you skip draining it, the filling can turn watery instead of thick and creamy. Even 30 minutes in a fine mesh strainer or cheesecloth makes a huge difference.
Why use powdered sugar instead of regular sugar?
Powdered sugar gives the filling a smoother bakery-style texture because it blends into the ricotta much more easily than granulated sugar. It also helps slightly thicken the filling, which makes it creamier and easier to pipe into the cups. Similar cannoli filling recipes recommend powdered sugar for that reason.
Can I use store-bought cannoli filling?
You can, but honestly homemade ricotta filling tastes fresher and lighter. Plus, this filling only takes a few minutes to mix together, so it’s barely any extra work.
Can I freeze the mini cannoli cups?
You can freeze the baked pastry cups before filling them. I wouldn’t freeze them already filled because ricotta filling can change texture after thawing. The empty cups freeze surprisingly well once cooled completely.
What’s the best way to pipe the filling?
A piping bag makes them look prettier, but honestly a zip-top bag with the corner snipped off works perfectly too. That’s usually what I use because it’s easier and there’s less cleanup.
Can I add other toppings?
Definitely. Mini chocolate chips and pistachios are the classic options, but shaved chocolate, crushed almonds, orange zest, or even a drizzle of melted chocolate would also be really good here.
Why are my pastry cups soft instead of crispy?
Usually this happens if the cups are filled too early or the ricotta wasn’t drained enough. Filling them right before serving keeps the pastry much crispier. Also make sure the cups bake until fully golden brown because that helps them stay crisp longer.
Final Thoughts
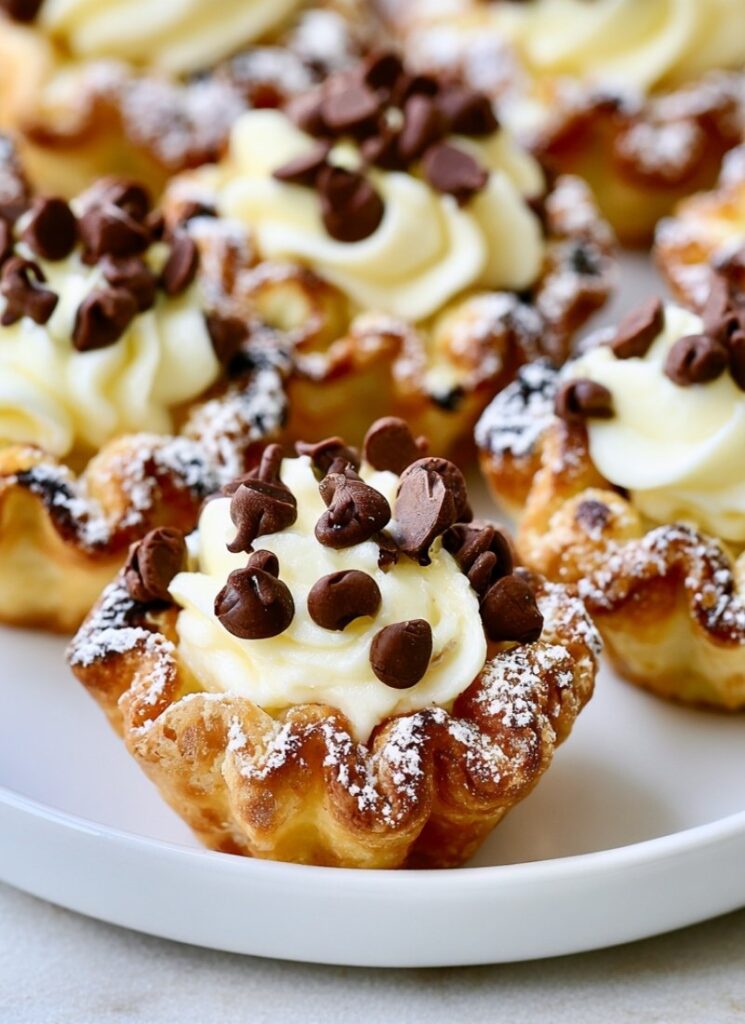
These mini cannoli cups are honestly one of my favorite shortcut desserts because they look so impressive without requiring a ton of work. You still get that creamy ricotta filling and crispy shell combination everyone loves about classic cannoli, but without frying anything or dealing with complicated pastry dough.
I also love how easy they are to make ahead for parties and holidays. The little pastry cups look SOOO pretty on dessert tables, and people always think they came from a bakery lol. And because they’re mini-sized, they’re perfect for brunches, baby showers, birthdays, holidays, or honestly anytime you want an easy dessert that feels a little more special than usual.

Fancy Mini Cannoli Cups Recipe
Ingredients
- 1 box Pillsbury refrigerated pie crusts 2 crusts total
- 1 15 oz container whole milk ricotta cheese, drained really well
- 3/4 cup powdered sugar
- 1 tsp orange or lemon zest
- 1/2 tsp vanilla extract
- Mini chocolate chips for topping
- Powdered sugar for garnish
Instructions
- Preheat the oven to 425°F.
- Lightly flour your surface and unroll both pie crusts. Use a 2 1/2-inch round cookie cutter to cut circles from the dough, then press each one into a mini muffin pan (here is a good one from Amazon) to create little pastry cups. You’ll probably need to reroll the leftover dough once or twice to get enough circles, which is completely fine.
- Bake for about 10 minutes, or until the cups are golden brown and lightly crisp around the edges. Let them cool in the pan for about 10-15 minutes before transferring them to a wire rack to cool completely. They crisp up even more as they cool.
- While the cups cool, make the filling. Add the ricotta, powdered sugar, citrus zest, and vanilla to a bowl and mix until smooth and creamy. I actually prefer using powdered sugar only here instead of adding granulated sugar too because it gives the filling a much smoother bakery-style texture. Powdered sugar blends into the ricotta more easily and helps make the filling thick, creamy, and pipeable without that slight graininess regular sugar can sometimes leave behind. If your ricotta feels watery, make sure to drain it really well first because thick filling makes a huge difference with mini cannoli cups.
- Transfer the filling to a zip-top bag or piping bag and refrigerate until ready to use.
- Right before serving, pipe the filling into the cooled pastry cups. Top with mini chocolate chips and finish with a dusting of powdered sugar.
- I highly recommend filling them right before serving because that keeps the pastry crisp instead of softening from the ricotta filling. This recipe makes about 24 mini cannoli cups depending on the size of your cutter and muffin pan.