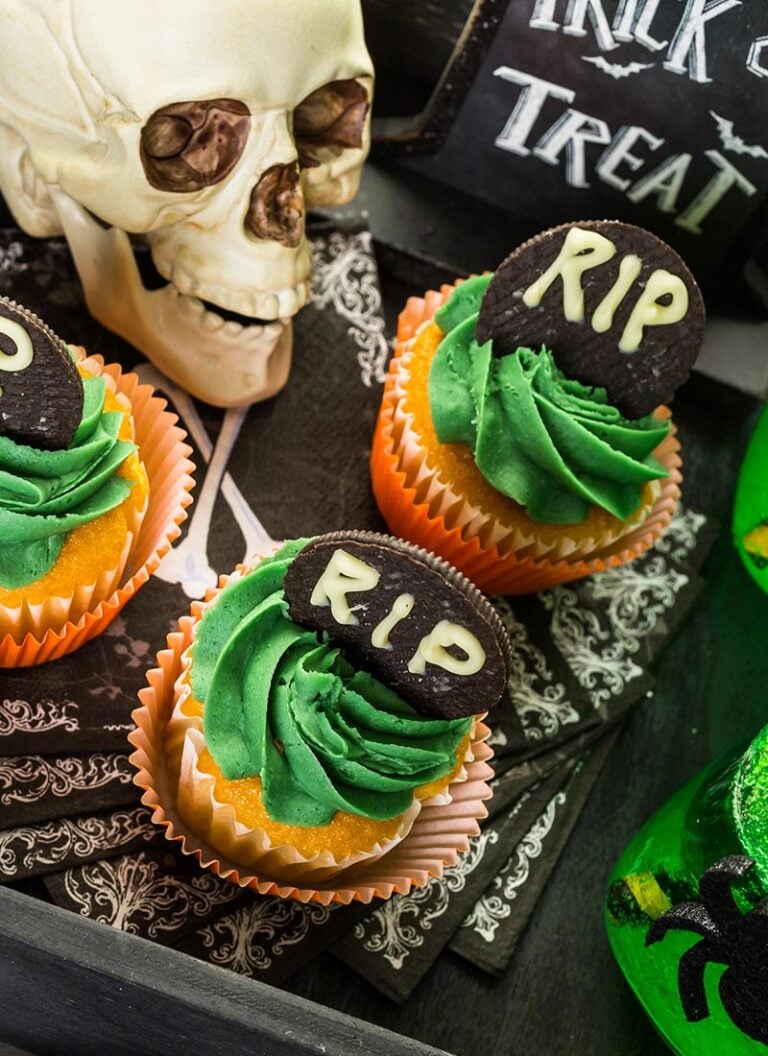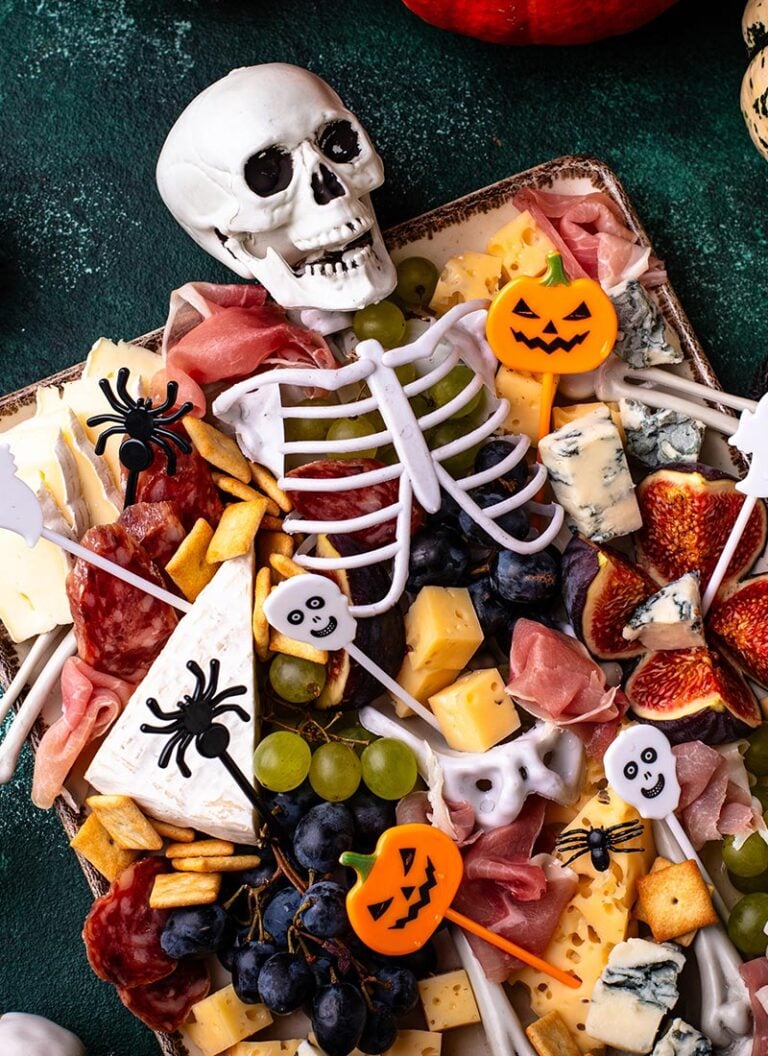
Cookies are the perfect Halloween treat, whether you’re hosting a party, putting together a festive dessert table, or handing them out to trick-or-treaters. With the right tools and a little creativity, you can turn them into spooky characters, creepy creatures, and all kinds of Halloween-inspired designs. Looking for Halloween cookie decorating ideas? Check out some of the most creative options below!
Halloween Classics
1. Jack-O’-Lantern Face Cookies that Hide a Sweet Surprise
There’s something especially satisfying about biting into one of these cookies and seeing that bright orange filling peek through the jack-o’-lantern face. The decorating is all about getting those little eyes and mouths clean, so use a small, sharp paring knife or appropriately sized cookie cutters rather than trying to carve them freehand. Also, keep the frosting centered on the plain pumpkin cookie, so it doesn’t squeeze through the openings when you sandwich the cookies together. They make a seriously cute addition to a Halloween dessert platter.
2. Wicked Poison Apple Sugar Cookies
If you like playing around with royal icing, these poison apple cookies are a fun step up. The green icing is the highlight here, especially those dramatic drips around the skull, so take a minute to lightly mark where you want the eyes and drips before piping. The trick is getting the icing fluid enough to settle into a smooth finish without letting the drips run completely wild. Once the green layer is dry, add the black stem and leaf, then brush a little edible gold shimmer onto the leaf. That tiny bit of gold makes the whole poison-apple look feel much more polished.
3. Three-Tone Candy Corn Swirl Cookies
These cookies get their Halloween look without any icing, which makes them such a fun change of pace. Simply divide the dough into plain, yellow, and orange portions, then roll and stack the layers before spiraling everything into a log. A bench scraper is especially handy here for keeping the dough portions neat and the layers even. Make sure each layer is roughly the same thickness for a clean candy-corn effect in every slice, then chill the log until very firm before slicing.
4. Chocolate Cookies that Look Like Tiny Pumpkin Patches
Think of these as tiny pumpkin patches, except the ground is a chocolate cookie! Spread a thick layer of ganache over each cooled cookie, then scatter crushed Oreos for an extra dirt-like texture. The fun part is piping the green vines, so use a small round piping tip and let the lines loop and curl naturally. Finish each one with a candy pumpkin and a tiny “Welcome Great Pumpkin” sign. If you’re making these for a party, the little signs are worth the extra effort because they turn a tray of cookies into an actual centerpiece.
5. Vampire Sandwich Cookies with Almond Fangs
These vampire sandwich cookies look far more elaborate than they actually are, which is exactly what I want when I’m putting together a Halloween dessert spread in a pinch. To make them, just sandwich two chocolate chip cookies with red icing, then line the filling with mini marshmallows for the teeth and tuck in slivered almonds as fangs. A small piping bag makes it much easier to pipe the red icing neatly around the edges.
Related: 17+ High Protein Halloween Snacks for Adults and Teens
6. Haunted House Cookies You Can Actually Eat
These haunted house cookies are basically tiny Halloween scenes in cookie form, complete with a crooked roof, glowing windows, a spooky ghost, tombstones, a boarded-up door, and a jack-o’-lantern. The design calls for several colors and layers of royal icing, plus plenty of fine details, so patience is key. Flood each section separately and let it dry completely before moving on to the next to keep the colors from bleeding together. A small round piping tip is especially useful for the windowpanes, roof details, tombstone lettering, and other fine lines. The finished cookie is practically a miniature haunted house you can eat.
Halloween Characters
7. Skull Linzer Cookies with a Bloody Jam Surprise
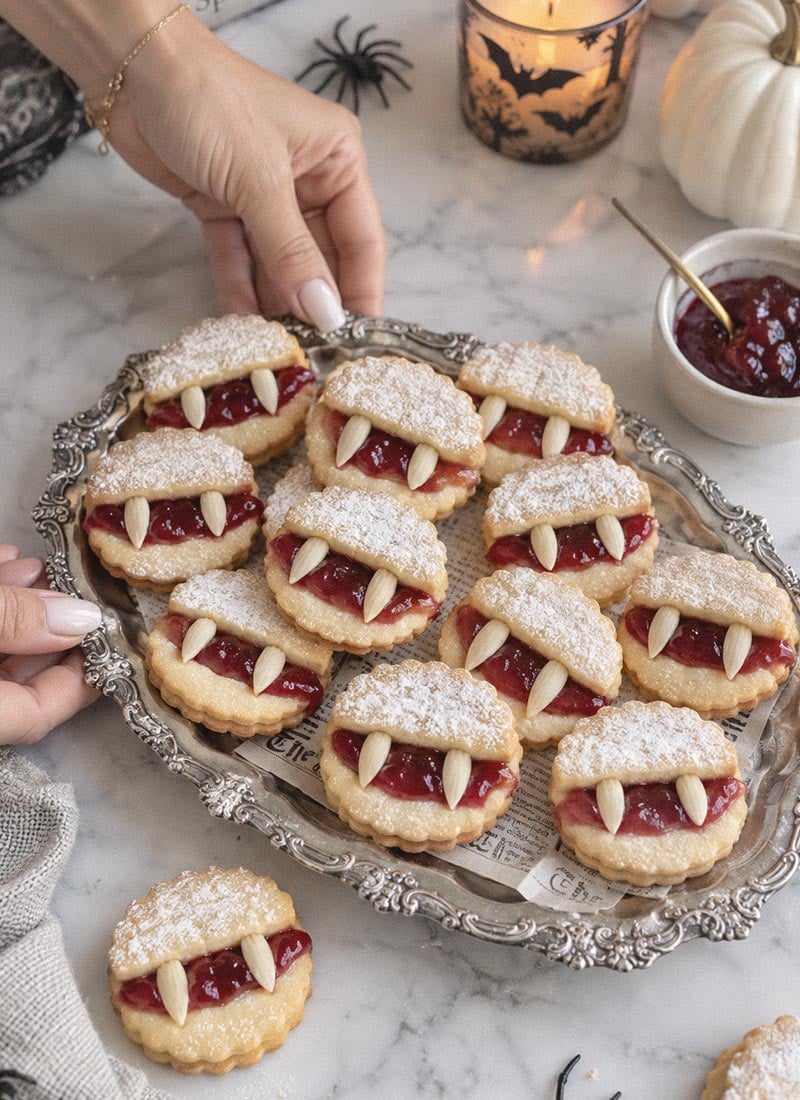
Linzer cookies are sandwich cookies made with two layers of shortbread-like dough and jam in between. This spooky version turns them into small skulls. Cut the dough into rounds, then trim the sides slightly to create the skull shape. Use the large end of a piping tip for the eyes, the small end for the nose, and a narrow knife cut for the mouth. Once baked and cooled, dust the tops with powdered sugar, spread jam over the bottoms, and sandwich them together. A bright red or dark berry jam looks especially striking through the skull’s cutout features.
8. Skeleton Cookies with a Creepy Bone-and-Skull Design
These skeleton cookies are where a little piping practice really pays off. Start with a gingerbread man cutter to get the classic skeleton shape, then cover the cookie with black royal icing before adding the white skull and bones. A small round piping tip gives you better control over the details, so you can create clean, defined lines without making the bones look too thick. Let the black icing dry completely before adding the white details to keep the colors from bleeding together, and use a toothpick or scribe tool to pop any air bubbles and smooth out small imperfections.
9. These Thumbprint Cookies Look Just Like Jack Skellington
These thumbprint Jack Skellington cookies turn a simple round cookie into one seriously spooky character. Before baking, press two deep eye sockets and a pair of smaller nose holes into each cookie, then pipe red jam into the indentations. Once baked, grab a small piping bag filled with melted chocolate and draw Jack’s signature stitched smile across the bottom half of each cookie. Keep the chocolate slightly fluid so it pipes smoothly, and use short strokes for the stitches instead of trying to draw the entire mouth in one go.
10. Headless Gingerbread Man Cookies for a Gory Halloween
Give classic gingerbread men a gruesome Halloween twist by bending one arm over the head before baking, using a small piece of parchment to hold it in place. Once baked and cooled, decorate the cookies with candy melts, then carefully cut off the head and add red candy melts around the neck for a bloody effect. Tuck the head under the raised arm for the final creepy detail. It’s surprisingly convincing for such a simple cookie design.
11. The Sweetest Little Ghosts on the Cookie Tray
These adorable ghost cookies prove that you don’t need fancy piping skills to make a Halloween treat that looks the part. After cutting out the ghost shapes with a cookie cutter, use a skewer, chopstick, or the blunt end of a wooden spoon to press in simple eyes and a mouth, then fold the arms around a pecan or other nut before baking. This is one of those Halloween cookie decorating ideas I’d happily make with kids because the design is supposed to look a little wonky!
12. Black Bat Cookies that Keep it Spookily Simple
Need easy Halloween cookie decorating ideas? Grab a bat cookie cutter and let the shape do most of the decorating. For a little extra drama, use black or deep charcoal icing to fill the bat shapes, leaving a narrow border of cookie visible around the edges. Once the icing is set, add a light dusting of edible luster dust for a subtle shimmer. You could also tint the dough black or deep purple instead if you want the color baked right into the cookie.
13. Mummy Cookies with a Buttercream Bandage Wrap
Mummy cookies are practically made for beginners because there’s no need to pipe perfectly straight lines. Once the chocolate cookies are completely cool, snip the end of a piping bag filled with vanilla buttercream and zigzag it across the surface in different directions. Add two candy eyes before the buttercream sets, and you’ll have a whole tray of goofy little mummies in no time.
14. Halloween Monster Cookies in Every Color of the Rainbow
These colorful monsters are a guaranteed crowd-pleaser! Simply tint the dough in several bright shades, roll the cookies in powdered sugar for that crackly finish, then press candy eyeballs into the cookies while they’re still warm. I’d keep a few different sizes of candy eyes on hand so each monster gets its own personality. They’re especially fun for a Halloween party because a big pile of mismatched monsters looks much more exciting than a tray of perfectly identical cookies.
Related: 10+ Halloween Cake Pops Recipe Ideas and Tips for Smooth Candy Melts
15. Frankenstein Mask Cookies You Can Take on the Go
How cute are these Frankenstein mask cookie pops? A Frankenstein mask cookie cutter gives the cookies their recognizable shape, and a lollipop stick pushed through the bottom before baking turns each one into a pop. Once cooled, outline and flood the face with green icing, then add the jagged black hair and gray bolts on the sides. The decorating takes a little patience, but the finished cookies would be especially fun for a Halloween party, classroom treat, or spooky dessert spread.
Creepy-Crawlies
16. The Easiest Way to Turn Cookies into Spiders
Turn a batch of peanut butter cookies into creepy-crawly treats with Whoppers and some melted chocolate. Press the large and small malted milk balls into the cookies while they’re still warm, then transfer the melted chocolate to a piping bag and draw the legs around the candy bodies. How to get reasonably even spider legs? Pipe each side as two Vs instead of trying to draw every leg individually. Complete the look with tiny white icing eyes and black nonpareil sprinkles.
17. Chocolate Cookies Caught in a Marshmallow Web
This spider web cookie recipe uses melted marshmallow to create wonderfully wispy webs. Simply microwave the marshmallows until melted, let them cool briefly, then pinch a small amount between your fingers and gently stretch it into long, thin strands over each cookie. Touch the strands to the cookie edges as you work so the web anchors in place. This part gets sticky fast, so work with small amounts of marshmallow and keep a bowl of water nearby for your fingers. Finish with a couple of edible candy eyes for an extra spooky touch.
18. Witch Finger Cookies that Look Deliciously Disturbing
These creepy little cookies are all about the details. Shape each piece of dough into a finger, then use a paring knife to add a few shallow lines at the knuckles and create a small indentation for the nail. Press an almond slice into the tip and finish the other end with a dip of red candy coating for an extra gruesome touch. For the most convincing effect, don’t make every finger identical. A few slightly crooked ones will look much more like an actual pile of witchy fingers.
19. Build a Graveyard Out of Tombstone Cookies
Tombstone cookies give you plenty of room to get creative with the details. A tombstone-shaped cookie cutter gives you the classic graveyard silhouette, while royal icing lets you add different “RIP” messages, cracks, spiderwebs, or little tufts of grass. I’d vary the designs rather than making every tombstone identical. Some can be simple, while others get a full web crawling across the corner. And if you’re putting these out at a Halloween party, nestle them into crushed Oreos on the serving tray to make them look like they’re sticking out of an actual graveyard.
20. Dirt Cake Cookies that Look Fresh from the Grave
These dirt cake cookies are basically a miniature Halloween scene you can eat, and the decorating couldn’t be more fun. Pipe a generous swirl of chocolate pudding frosting over each cooled cookie, then cover it with crushed Oreo crumbs to create that fresh-from-the-graveyard “dirt.” Tuck a gummy worm into the crumbs so it looks like it’s crawling out of the ground. A piping bag with the tip snipped off works perfectly for the mousse.
Related: 15+ Halloween Games for Adults That Everyone Will Want to Play
21. Chocolate Chip Cookies with a Very Creepy Stare
These eyeball cookies are wonderfully creepy, but there’s more going on here than simply sticking candy eyes onto cookies. First, paint the iris onto each white candy melt with colored gel food coloring, press a chocolate chip into the center for the pupil, and use a toothpick dipped in red coloring to add tiny bloodshot veins. Once the eyeballs are ready, press one into each portion of cookie dough and add thin strips of dough around the top and bottom to create the eyelids. Gently blend those strips into the cookie so they look like they’re wrapping around the eye rather than sitting on top. A toothpick is your best friend for those tiny details, especially when you’re adding the veins or smoothing the edges around the pupil.
Final Thoughts
If you love baking and decorating, Halloween is the perfect excuse to get creative with cookies. From simple designs that beginners can tackle to intricate creations that really show off your decorating skills, there are plenty of Halloween cookie decorating ideas to try. My favorites are the unexpected designs that go beyond the usual pumpkins and ghosts. Sometimes, the more creative the cookie, the more memorable it is!