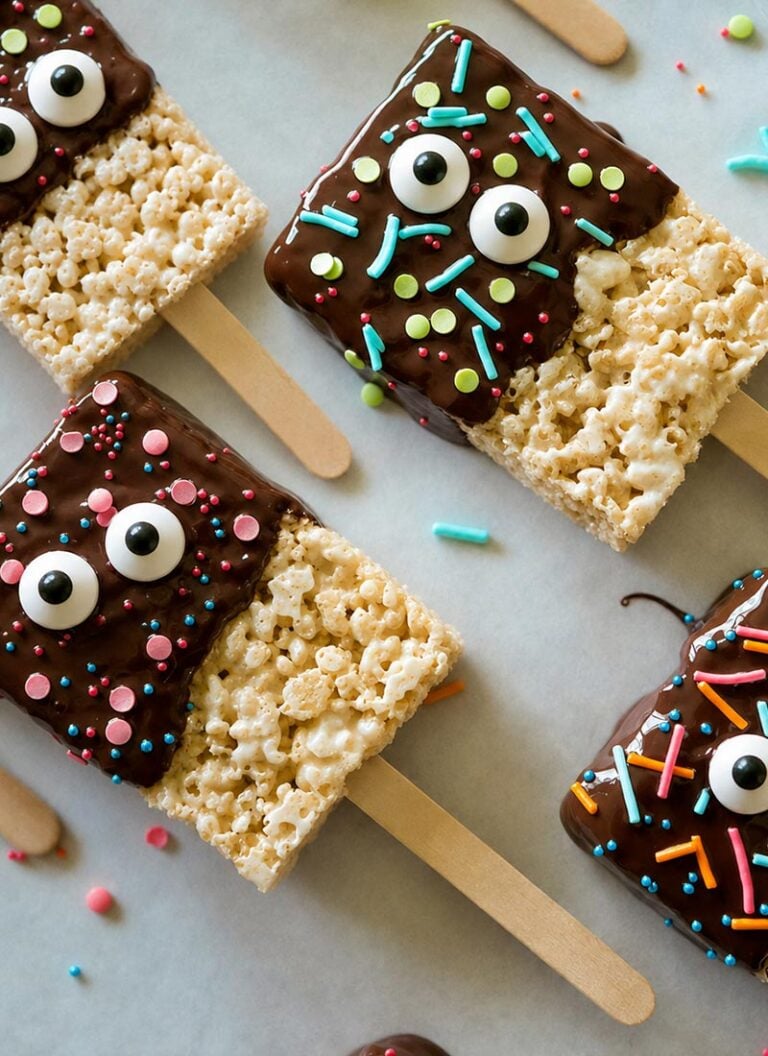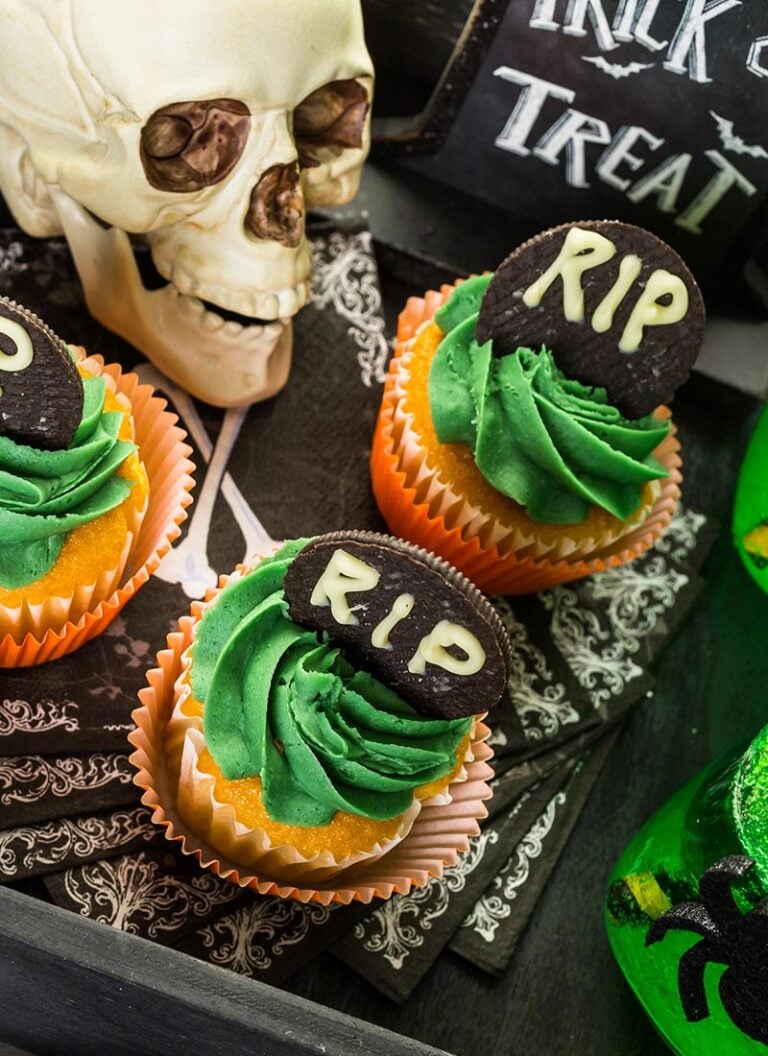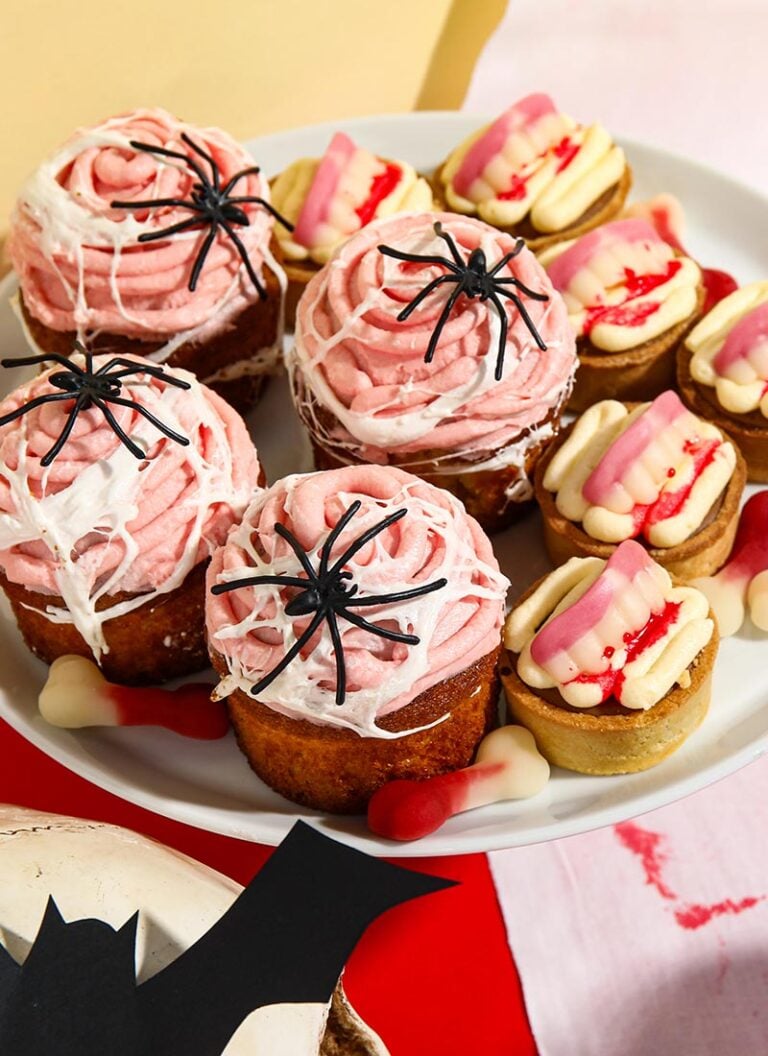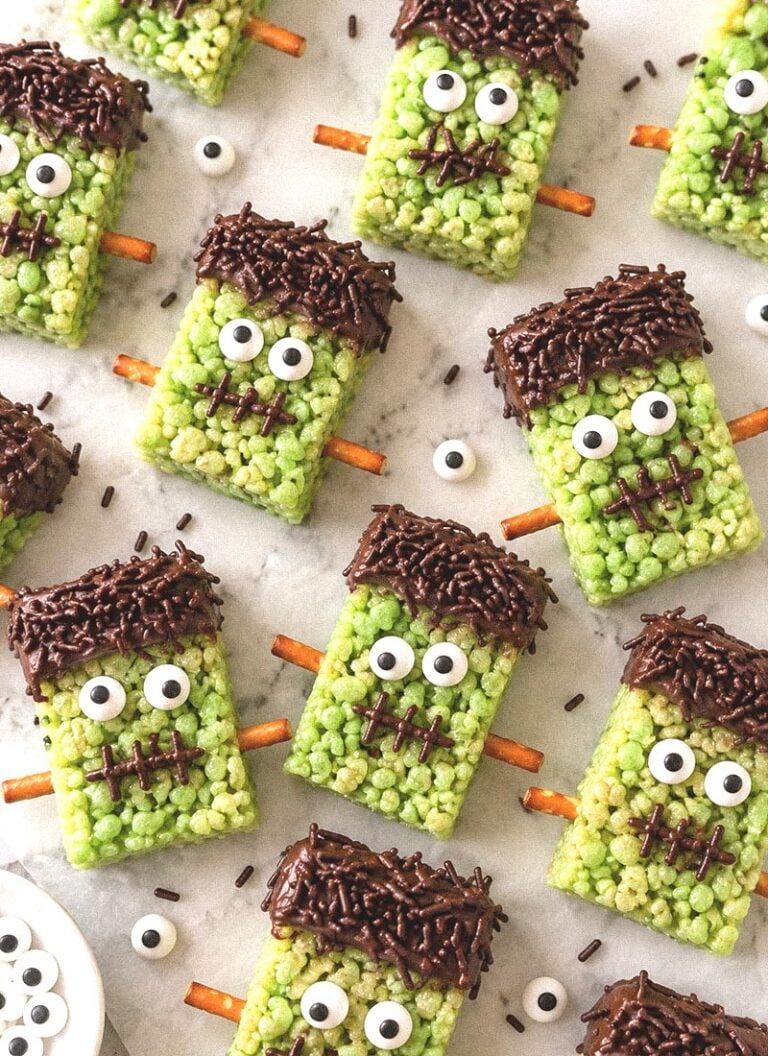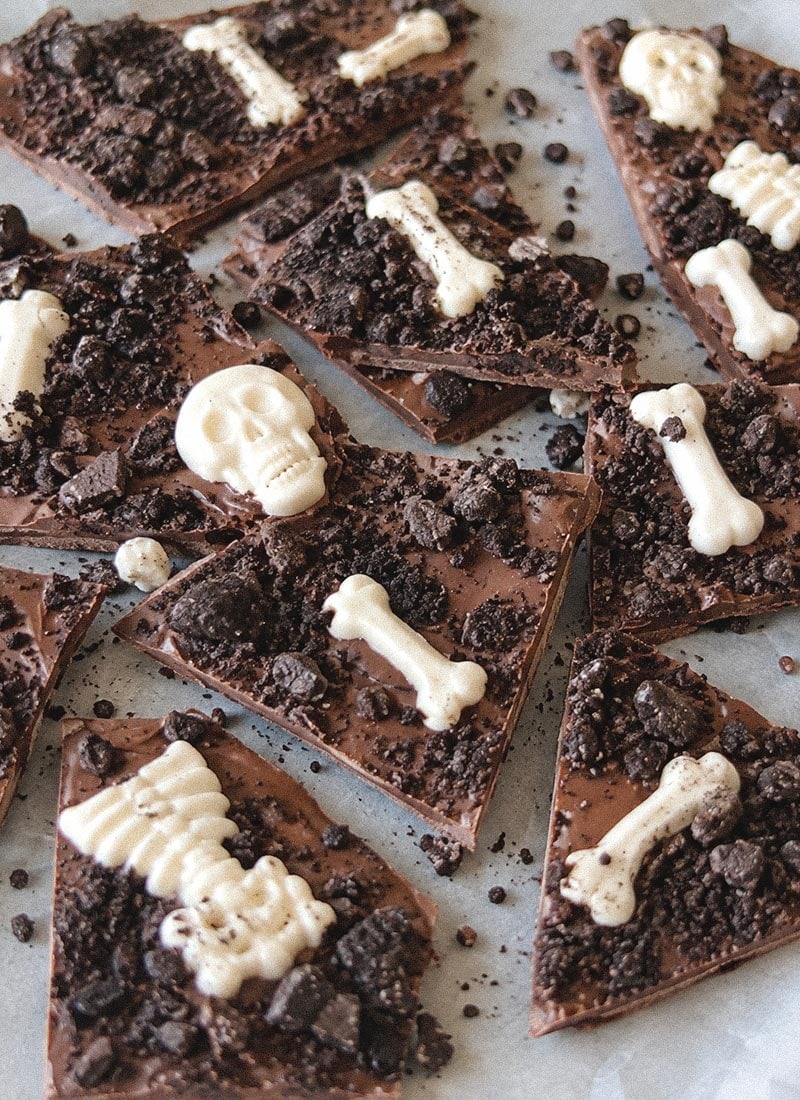
Homemade treats for Halloween are always fun to make, especially when they’re as easy as chocolate bark. Halloween chocolate bark is basically melted chocolate spread into a thin layer and decorated with all kinds of festive toppings. You can customize each batch with sprinkles, candies, cookies, pretzels, and other spooky sweets, making it easy to match your party theme or color scheme. Check out the ideas below for plenty of cute, creepy, and delicious inspiration!
1. This Mummy Bark is Creepy, Crunchy, and so Easy
Oreos and white chocolate make a seriously addictive combination, and this mummy bark gives the duo a spooky makeover. Crushed cookies add plenty of chocolatey crunch throughout the bark, while the extra white chocolate drizzled over the top creates that messy, bandage-like mummy effect. A few edible eyes are all you need to bring the whole thing to life. I’d line the tray with a silicone baking mat or parchment so the bark lifts off easily once set. With only three main ingredients, this is one of those Halloween chocolate bark ideas I’d happily make when I want a festive treat without a big baking project.
2. This Melted Witch Bark is a Halloween Showstopper
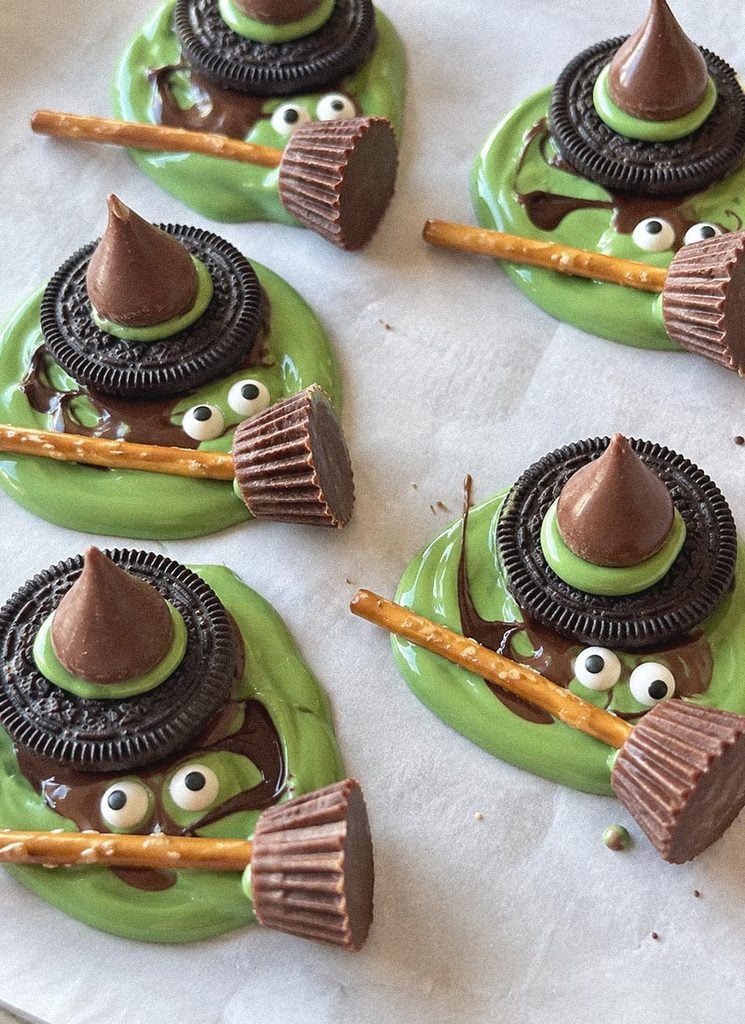
Talk about a witchy little treat! These pieces use green chocolate as the melted witch faces, with Oreo cookies for oversized hats, chocolate cups for the hat tops, pretzel sticks for broomsticks, and tiny candy eyes to bring the whole scene to life. I love that each piece gets its own little character, so they’re especially fun to arrange on a Halloween dessert table. Use a silicone spatula to smooth the green-tinted chocolate, then let the pieces firm up on parchment before moving them to a platter. They’re almost too cute to eat, but the Oreos and chocolate cups make that decision considerably easier.
Here is a quick video on how to make them:
3. A Skeleton-Filled Halloween Chocolate Bark for Your Party
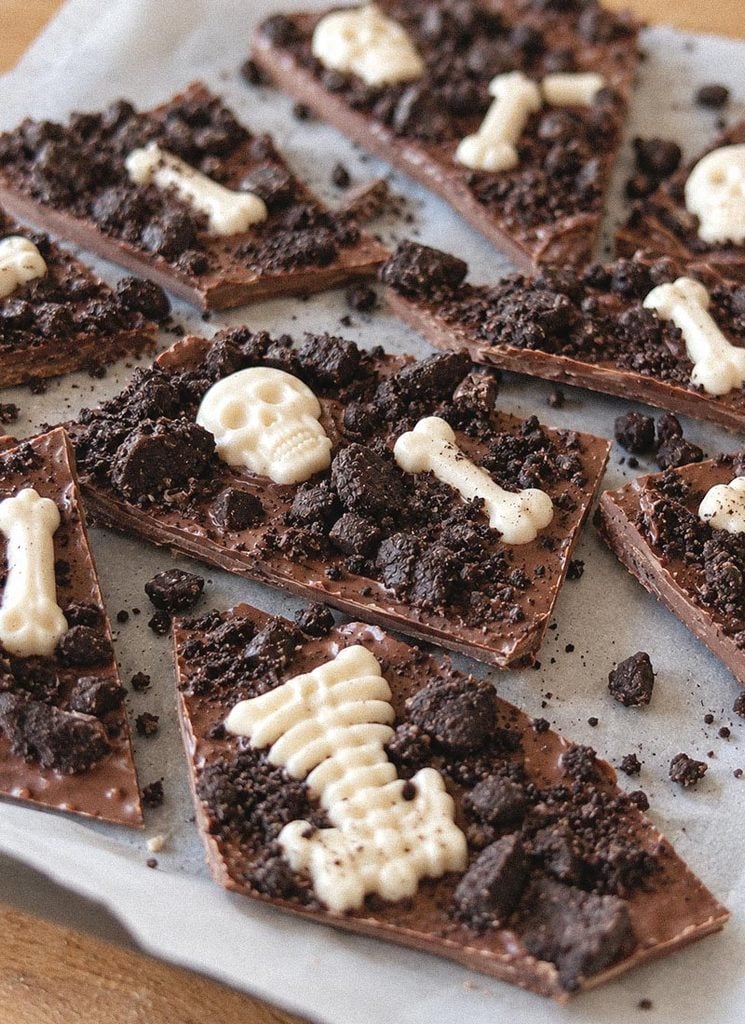
Turn a simple sheet of chocolate into a whole graveyard scene with this delightfully creepy Halloween chocolate bark. Skeleton-shaped white chocolate pieces stand out against the milk chocolate base, while crushed chocolate wafers create a dark, crumbly ground around them. A skeleton candy mold gives you those fun little figures without requiring any fancy decorating skills. Once everything is firm, score the bark lightly with a knife before breaking it apart. That way, you get pieces with plenty of skeleton-and-cookie action in every serving.
Ingredients
- 12 oz milk chocolate
- 4 oz white chocolate or white candy melts
- 6–8 chocolate sandwich cookies or chocolate wafers, crushed
Instructions
- Melt the white chocolate and spoon it into a skeleton candy mold. Refrigerate for 10–15 minutes until firm, then carefully remove the skeletons.
- Melt the milk chocolate in the microwave in 20-second intervals, stirring between each, until smooth.
- Line a baking sheet with parchment paper and spread the melted milk chocolate into an even layer about ¼-inch thick.
- Sprinkle the crushed chocolate cookies over the chocolate and arrange the white chocolate skeleton pieces on top. Press them in gently.
- Refrigerate for about 30 minutes until completely firm.
- Lightly score the bark with a knife, then break it into irregular pieces and serve.
4. This Purple Halloween Bark is Made for Cat Lovers
Purple and black chocolate, golden stars, and tiny candy moons give this bark a whole midnight Halloween scene. The spooky cat Peeps are the stars of the recipe, popping against the purple background and making each piece look like a tiny Halloween illustration. No cat-shaped marshmallows? Swap them for cat-shaped gummies, chocolate cats, or even other Halloween-shaped candies you happen to find. For a party, I’d arrange the broken pieces on a dark serving platter and scatter a few extra stars around them. This Halloween chocolate bark feels especially fun for a witchy or celestial-themed celebration.
Related: 21+ Creative Halloween Cookie Decorating Ideas for Every Skill Level
5. A Wild Halloween Bark Packed with Monsters
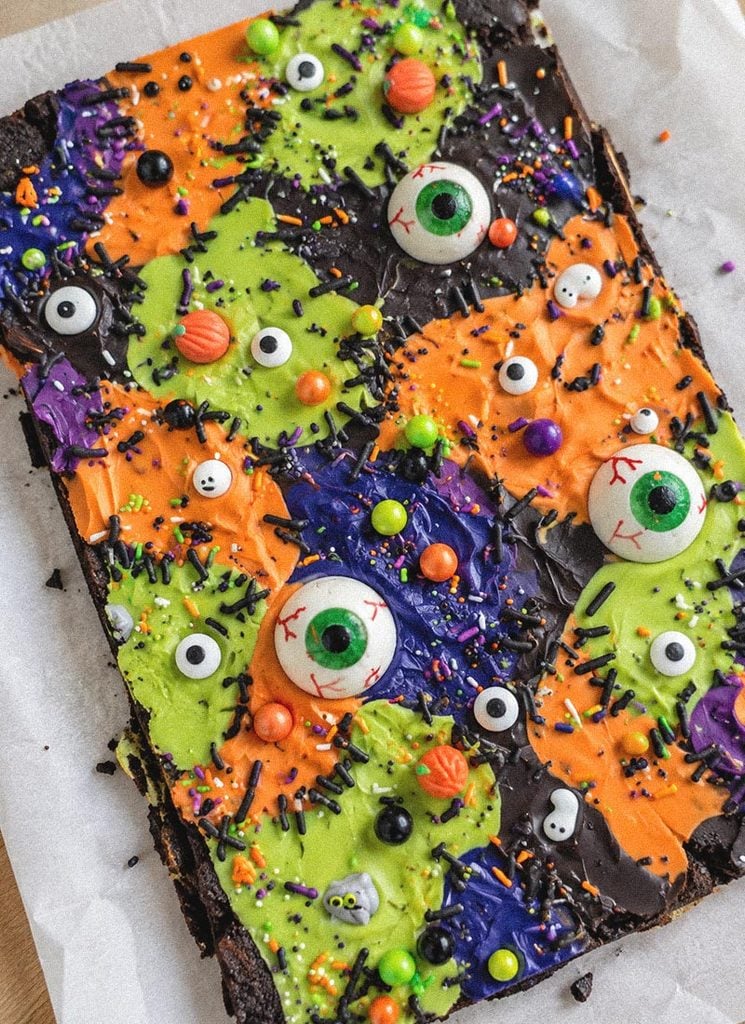
Why choose between brownies and chocolate bark when you can have both? This mashup starts with a thin layer of fudgy brownie, then gets covered in pools of green, orange, purple, and black-colored chocolate for a wild monster-inspired finish. Halloween sprinkles, candy eyes, pumpkins, ghosts, and mummies add even more personality, while piped black stitches help tie the different colors together. A rolling pin is useful for getting the brownie layer nice and even, and a silicone spatula makes it easy to spread the melted candy. This one is definitely more substantial than traditional bark, making it a great pick when you want your Halloween chocolate bark to double as a seriously indulgent dessert.
Ingredients
- 1 box brownie mix, plus ingredients listed on the box
- ½ cup each green, orange, purple, and black candy melts
- Halloween sprinkles, including black jimmies
- Candy eyes
- Halloween candy decorations such as pumpkins, ghosts, or mummies
Instructions
- Prepare the brownie batter according to the package directions.
- Spread the batter in a thin, even layer on a parchment-lined baking sheet. Bake at 350°F for 12–15 minutes, then let cool completely.
- Melt each color of candy melts separately.
- Spoon the melted candy over the brownie in different sections and gently spread it out.
- Add Halloween sprinkles, candy eyes, and Halloween candy decorations while the chocolate is still soft.
- Refrigerate for 20–30 minutes until firm, then cut or break into pieces.
6. A No-Fuss Ghost Bark for Halloween Parties
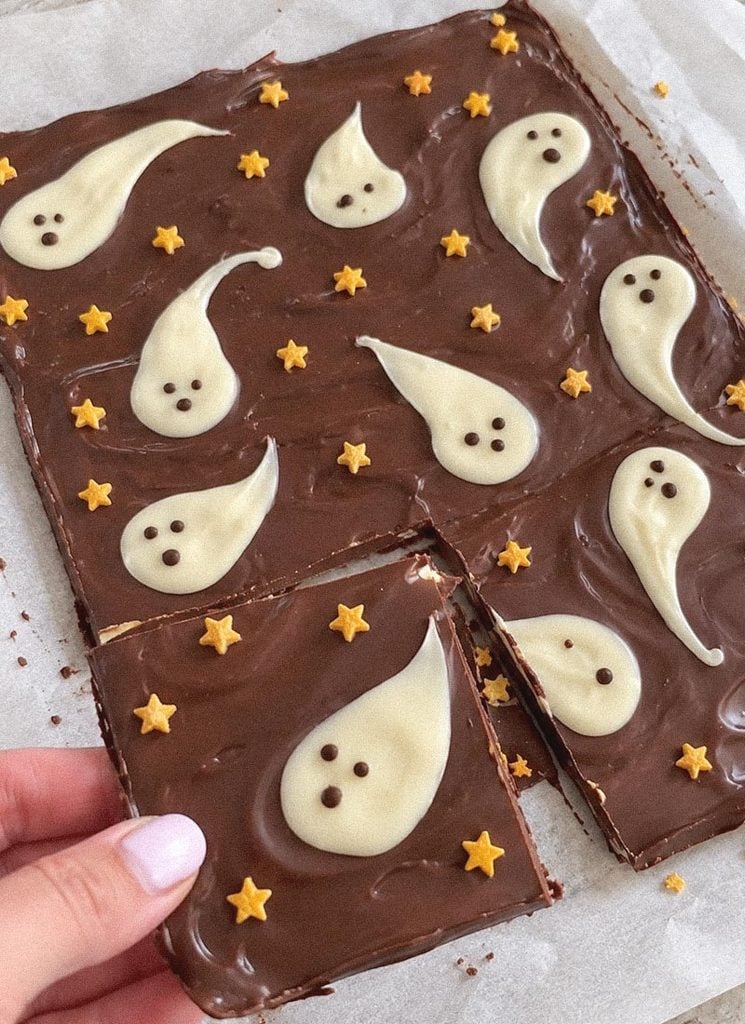
Say boo to boring Halloween desserts! This chocolate bark features adorable white chocolate ghosts, candy eyes, and a generous sprinkling of colorful Halloween decorations. The ghost shapes can be as simple or wonky as you like, so there’s no pressure to make them look perfect. Spread the chocolate base with a small offset spatula, then pipe on the ghosts and add their eyes before everything firms up. Once chilled, crack the slab into bite-sized pieces. I’d make the ghosts slightly different from one another because those little variations are what make the finished bark so cute.
Here is a quick video on how to make these:
7. Go Full Goth with This Black-on-Black Bark
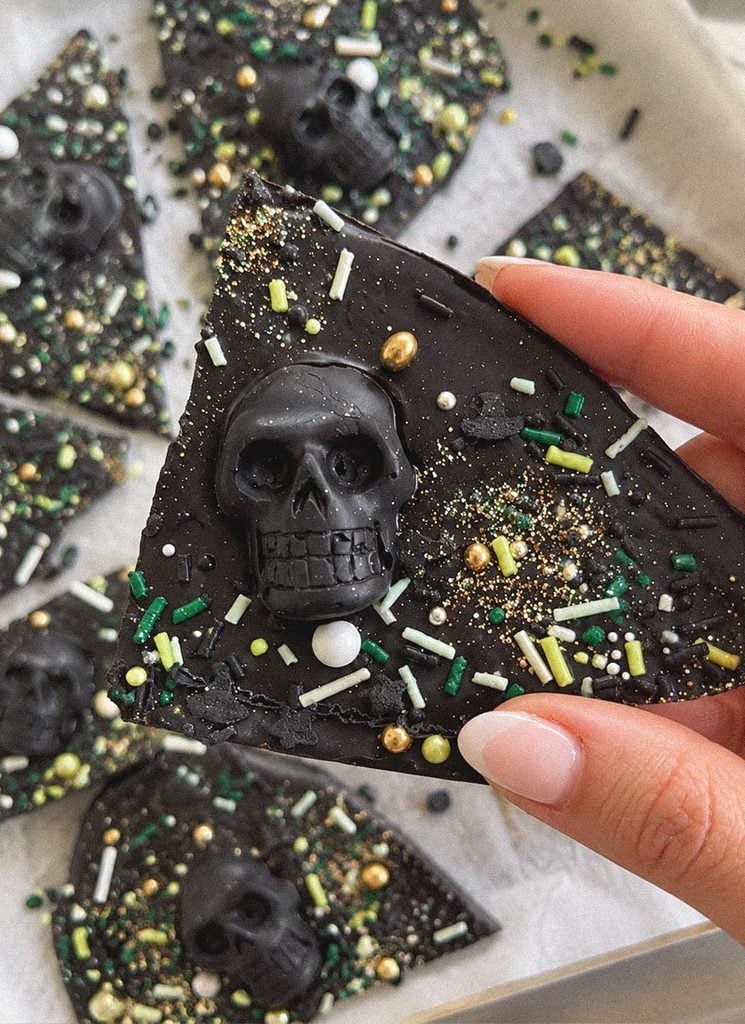
If you prefer your Halloween treats on the darker side, this one is right up your alley. A nearly black chocolate base is covered with black Halloween candies and skull-shaped pieces, while a scattering of colorful sprinkles adds tiny pops of contrast without taking away from the moody look. The tone-on-tone decorations are what make this bark so striking, especially when you see the details up close. A black serving platter would make the finished pieces look even more dramatic.
Here is how to make this recipe:
8. The Halloween Bark Recipe for Candy Corn Fans
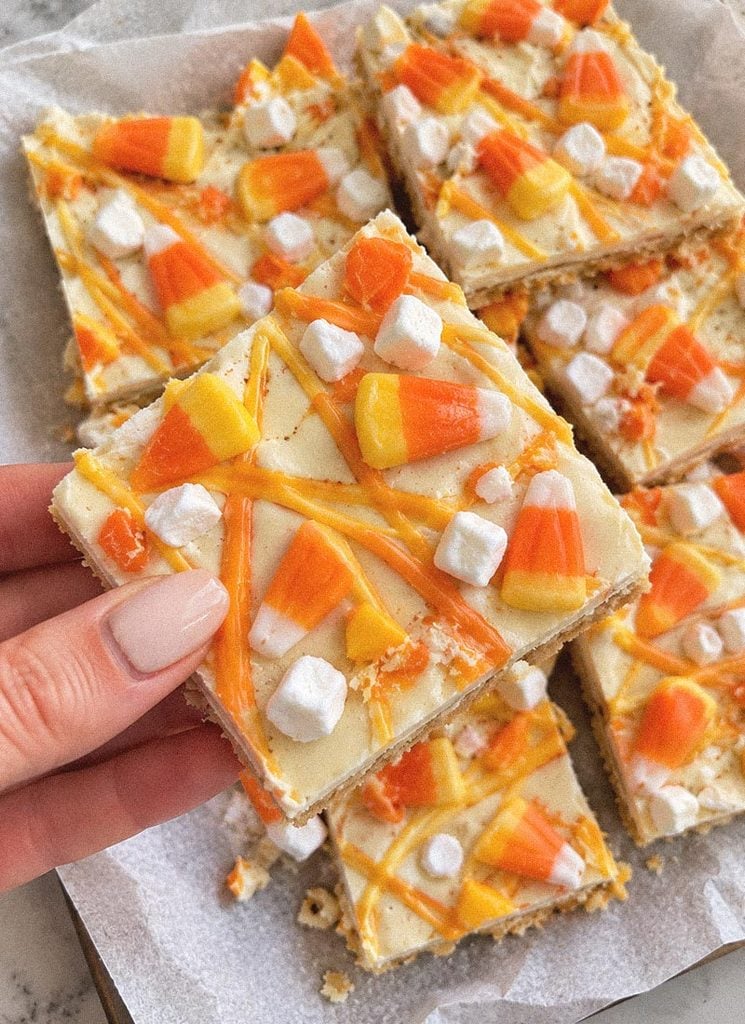
Candy corn gets to be the star of the show in this bright and cheerful Halloween chocolate bark. The creamy white chocolate base is loaded with candy corn, then finished with swirls of orange and yellow that echo its signature three-color look. It’s sweet, simple, and instantly recognizable as a Halloween treat. A toothpick is useful for gently swirling the colored chocolate without muddying the shades. For the cleanest finish, have all your candy corn ready to go before you melt the chocolate so you can decorate while the surface is still soft.
Ingredients
- 12 oz white chocolate or white candy melts
- 1 cup candy corn
- ¼ cup orange candy melts
- ¼ cup yellow candy melts
Instructions
- Line a baking sheet with parchment paper.
- Melt the white chocolate until smooth, then spread it into an even layer.
- Melt the orange and yellow candy melts separately and drizzle them over the white chocolate.
- Gently swirl the colors with a toothpick.
- Scatter the candy corn over the top and gently press it into the chocolate.
- Refrigerate for about 30 minutes until firm, then break into pieces.
Related: 10+ Halloween Cake Pops Recipe Ideas and Tips for Smooth Candy Melts
9. A Spooky Sprinkle-Filled White Chocolate Bark
This simple idea proves you don’t need a rainbow of food coloring to make festive bark. This Halloween chocolate bark starts with a white chocolate base scattered with pieces of Halloween-themed Oreos, with their orange creme centers providing the perfect pop of color against the white chocolate. Candy eyes and a few other small Halloween candies add even more character without making the bark feel overly busy. Break the Oreos into different-sized pieces rather than making them all uniform. I like that approach for bark because every piece ends up looking a little different when you crack it apart.
10. Sweeten up Your Halloween with Pink Chocolate Bark
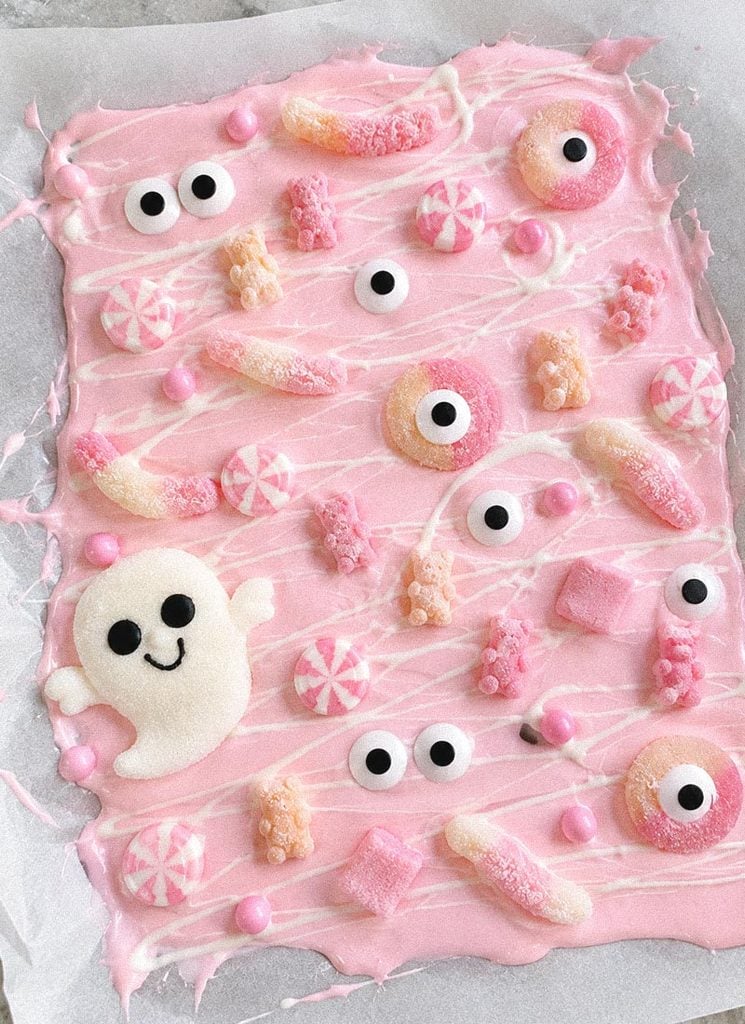
Halloween gets a cute pink makeover with this playful candy bark. The soft pink-tinted chocolate base is covered with pastel candies, candy eyes, gummy vampire teeth, and little white drizzles for a playful mix of cute and creepy. I especially like the unexpected combination of the sweet pastel colors with those vampire teeth. Spread the chocolate on parchment with a silicone spatula, then scatter the toppings while the surface is still soft. A quick chill in the refrigerator is all it needs before you break it into pieces.
11. The Best Way to Make Spiderweb Chocolate Bark
Here’s a fun idea when you want your bark to have an actual design rather than just a pile of toppings. Crispy rice cereal gives the dark chocolate base some crunch, while white chocolate is piped into spirals and dragged into spiderwebs with a toothpick. A scattering of candy corn, sprinkles, and candy eyes completes the spooky look. Don’t worry about making every web identical. Slightly wonky lines actually make the bark feel more handmade and creepy. Spread the chocolate with a silicone or offset spatula, then work on the webs while the surface is still soft.
12. A Sweet-and-Salty Halloween Bark to Share
Chocolate and peanut butter already make a pretty unbeatable pair, but this bark takes things up a notch with crunchy pretzels, peanut butter chips, and Reese’s Pieces in classic Halloween shades. The smooth chocolate and peanut butter base gives every piece a rich, creamy bite, while the pretzels add just the right amount of salty crunch. A final drizzle of melted peanut butter chips makes the whole slab look extra indulgent. Spread the chocolate mixture evenly, then lightly press the toppings into the surface so they stay put when you break the bark apart.
Related: 21+ Spooky Halloween Dessert Board Ideas and Styling Tips
13. This Personalized Chocolate Bark Makes a Fun Halloween Favor
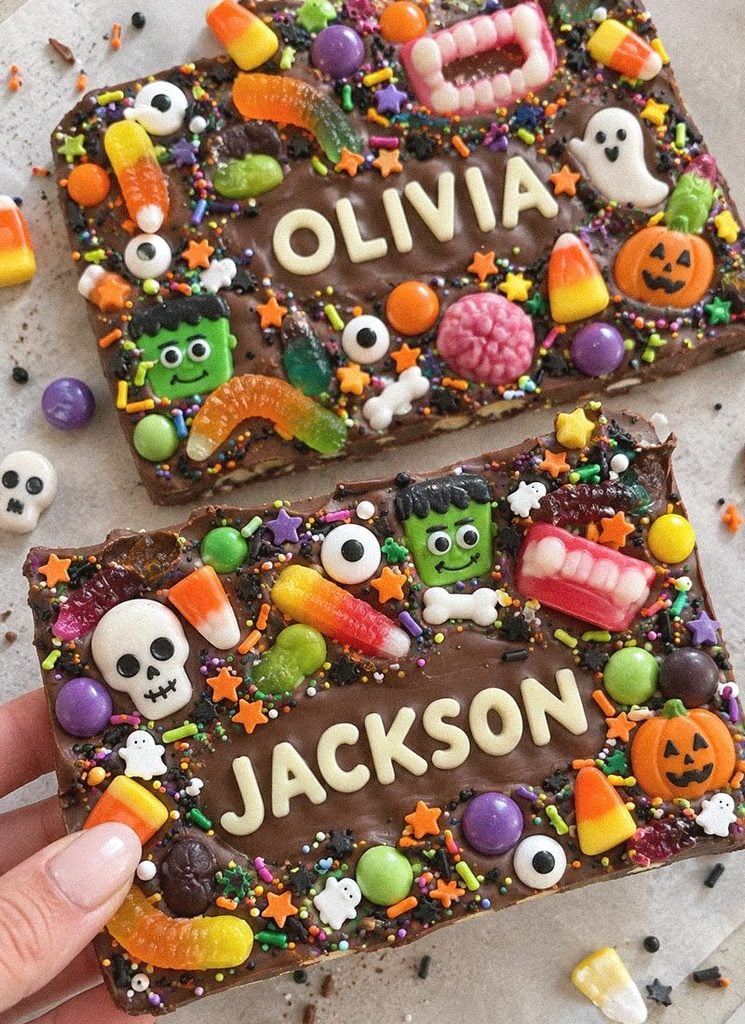
Why stop at sprinkles when you can put someone’s name right on the dessert? This personalized Halloween bark turns a slab of chocolate into a fun little party favor, with colorful candies, spooky shapes, sprinkles, and candy letters arranged across the top. The mix of bright colors and creepy-cute decorations gives each piece a playful, almost candy-store feel. It would be adorable for a kids’ Halloween party, classroom treat, or even a personalized gift. Use a ruler or bench scraper to help create clean sections if you’re making individual name plaques, then break or cut the bark once it’s completely firm. Just be sure to add the letters while the chocolate is still soft enough for them to stick.
14. This Bloody Chocolate Bark Looks Straight Out of a Horror Movie
This bloody Halloween bark goes all in on the spooky factor. The stark white chocolate base is splattered with bright red candy melts, creating a wonderfully messy blood-splatter effect, then finished with little bone sprinkles. Use a spoon to flick the melted red candy over the bark, but put down some parchment or newspaper around your work area first because this is one decorating technique that likes to get everywhere. Add the bone sprinkles while the red candy is still wet, then let the bark set before breaking it into dramatic shards.
15. This Purple-and-Green Bark is Pure Halloween Fun
A dark chocolate base gets a colorful makeover with swirls of purple and green melting chocolate, creating a look that’s both spooky and magical. Instead of simply drizzling the colors over the top, dollops of each candy melt are swirled together with a knife or lollipop stick, so every piece gets its own marbled pattern. Add Halloween sprinkles and candy eyes while the chocolate is still soft, and you’ve got a festive treat with plenty of texture and personality. This is also a great one to let the kids help decorate because there’s really no wrong way to swirl it.
Final Thoughts
These Halloween chocolate bark recipes include fun and cute ideas, along with creepy designs that trick-or-treaters and party guests will love. They’re also an easy dessert option for Halloween parties, especially when you want something festive without spending hours in the kitchen. What I love most about chocolate bark is how much room there is to get creative. Add your favorite candies and toppings, play around with different colors and designs, and make each batch your own. There are no complicated baking steps either, so even beginner bakers can have fun making these spooky treats.